 to open the configuration settings, then click the Site Configuration icon. The following screen displays.
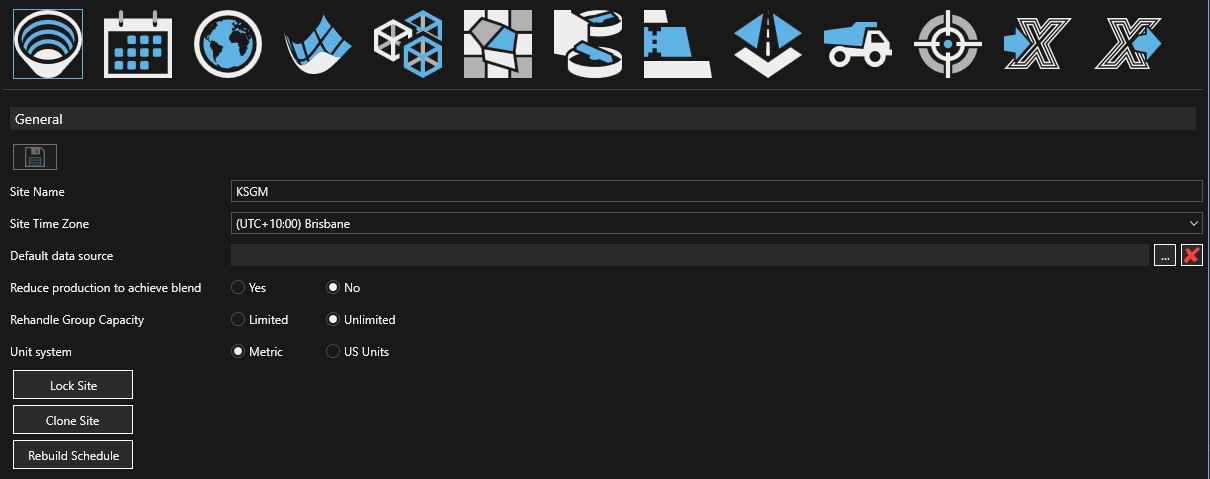
Changing the time zone AFTER importing a custom calendar will alter the period start times.
to open the configuration settings, then click the Site Configuration icon. The following screen displays.
Changing the time zone AFTER importing a custom calendar will alter the period start times.
You can lock a site to ensure that no further changes are made to the site configuration or to the schedule in XECUTE. To lock the site, click the Lock Site button . The user that locked the site and the date of lock action is shown here.

Once a site is locked, any open sites in XECUTE are reloaded. In XECUTE, the site lock status is shown in the site title bar and in the General Site Properties information window. A site can be locked and unlocked by any user.
All export functions remain enabled in a locked XECUTE site. Reports can be changed and exported but not saved in a locked site.
A snapshot of the global configuration settings are taken when the site is locked, and the settings are applied to the locked site. When the site is unlocked, the current global configuration settings are reapplied.
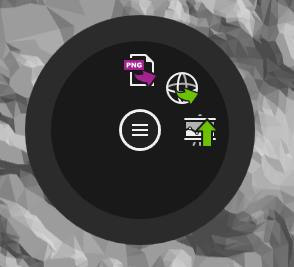
The image below shows the 3D Scene radial menu after a site has been locked.
The following settings are available:
Cloned sites are fully self-contained with their own copy of all site data and configuration settings.
To clone a site, go to the site configuration  and click the Clone Site button.
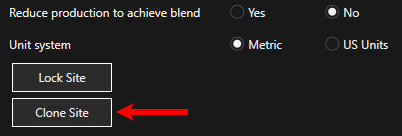
The image below shows a locked site that is undergoing cloning. During this process the cloned site (KSGM (2)) is not available, but the original site (KSGM) is fully operational.
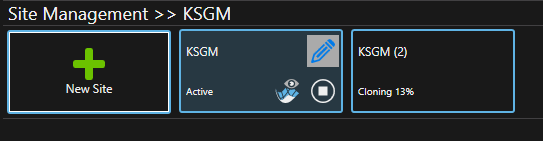
If you are unable to see a cloned site, make sure the Active Site filter is not applied as cloned site are initially stopped (Ready State).
The Rebuild Schedule button opens a dialogue to provide a reason [optional] for rebuild, clicking the Rebuild button sends a command to the XECUTE server to clear the scheduling cache and re-run the schedule for the site. This action will affect all connected users such that updated schedule data will be sent to all users.
The site calendar defines the scheduling and reporting periods and is configured in the site's General Settings page.
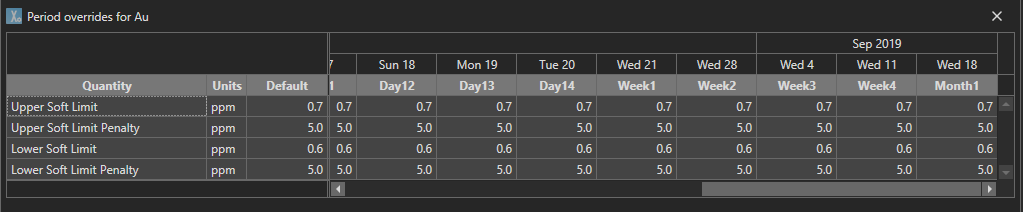
The periods can be of any duration and the duration of individual periods can change as the calendar progresses, for example you can start with a set number of days then transition to weeks and then months. All period overrides are based on the site calendar. A default site calendar is created for new sites with two 12 hour periods per day for 70 periods.
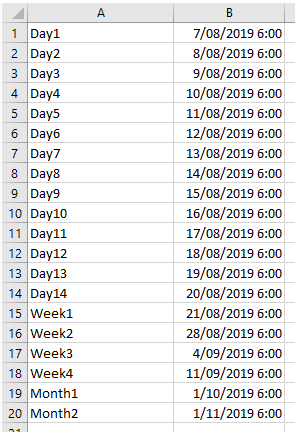
To configure a custom calendar create a simple csv file to define the periods and their start times. The period names are in column 1 and the period start date is in column 2. The period duration is period(n+1) start date - period(n) start date. A dummy period start date is required to set the last period end date.
You can also copy rows from the XECUTE calendar and paste them into Excel.
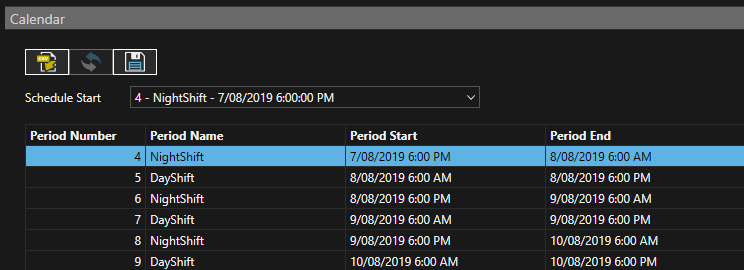
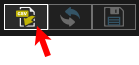
To import a custom calendar click the Import icon and select the csv file.
A preview appears; click the Save icon to accept the calendar or the Revert icon (the one with arrows) to swap back to the existing calendar.
Shown below is an example of the variable period length calendar as applied to an objective override.
Updating the schedule start date
The schedule start date can be adjusted by selecting the start period from the drop-down list. The image below shows period 3 selected as the new schedule start period. Changing the schedule start does not affect any of the proceeding periods, and preceding periods are greyed out. When the change is saved, the greyed out periods are removed and the new Start period is assigned period 1.